The Dogs section in the backend is home to all dog entries. This is a Custom Post Type created specifically for your dog breeding website. Each entry contains all the information related to a breeding dog, including gender, status (active, retired, for sale, or sold), dog details, health clearances, and a photo gallery.
Adding New Dogs
To add a new Dog entry, click on one of two “Add New” options.
Title
When the “Add New Litter” page opens up, add the Litter title to the “Enter title here” field.
The dog title doesn’t show on the front of the website, but it is reflected in the “Slug” field, which is part of the page URL.
Avoid long titles to keep the “slug” from being too long.
SmartCrawl
The SmartCrawl section is where you’ll manage the Meta Title and Description. This is what Google shows on Search Engine Result Pages (SERPs). To learn more about Meta Titles and Descriptions, read How to create the right meta description.
Click on “Edit Meta” to open the “SEO Title” and “Description” fields and add a title and description.
Dog Gender and Status
Select the Gender and Status of the dog.
Only active dogs are shown on the front of the website.
Featured Image
The “Featured Image” field is located in the right sidebar. Click on “Set featured image” to select or upload an image to the Media Library.
For feature and gallery images, the best aspect ratio to use is 16:9 with a size of 2000px wide X 1125px height. Learn more about what image types your can upload, optimal dimensions, and file sizes.
Field Group for Dogs
This is where you’ll enter the following details about a dog.
- Full Name (required field) – The Dog’s Name presents as the page title and is located at the top of the page above the Nickname heading.
- Nickname (required field) – The Dog’s Nickname presents as the page heading and is located under the page title (Dog’s Full Name) at the top of the page.
- Profile Image (required field) – This image presents next to the dog’s profile details and should be an 800px X 700px image. It is NOT the “Featured image,” which is a larger image that presents at the top of each page.
- Birth Date (required field)
- ALAA Registration Number (required field)
- Breeder Name (required field)
- Sire (required field)
- Dam (required field)
- Color (required field)
- Coat (required field)
- Size Height (required field) – Enter height in inches.
- Weight (required field) – Enter weight in pounds
Health Clearances
Click on “Add First Health Clearances” to open a field group.
- Field Group Title – This title is a label to help you identify each health test when the field group is collapsed. It does not appear anywhere on the front of the website.
- Health Test (required field) – Test name
- Test Results (required field) – Test result
Click on the “Add New Health Clearances” button to add another Health Test, and another field group will appear.
Dog Bio
The Bio Heading and Bio are shown under the featured image on the front of the website. They’re the intro to your dog.
Photo Gallery
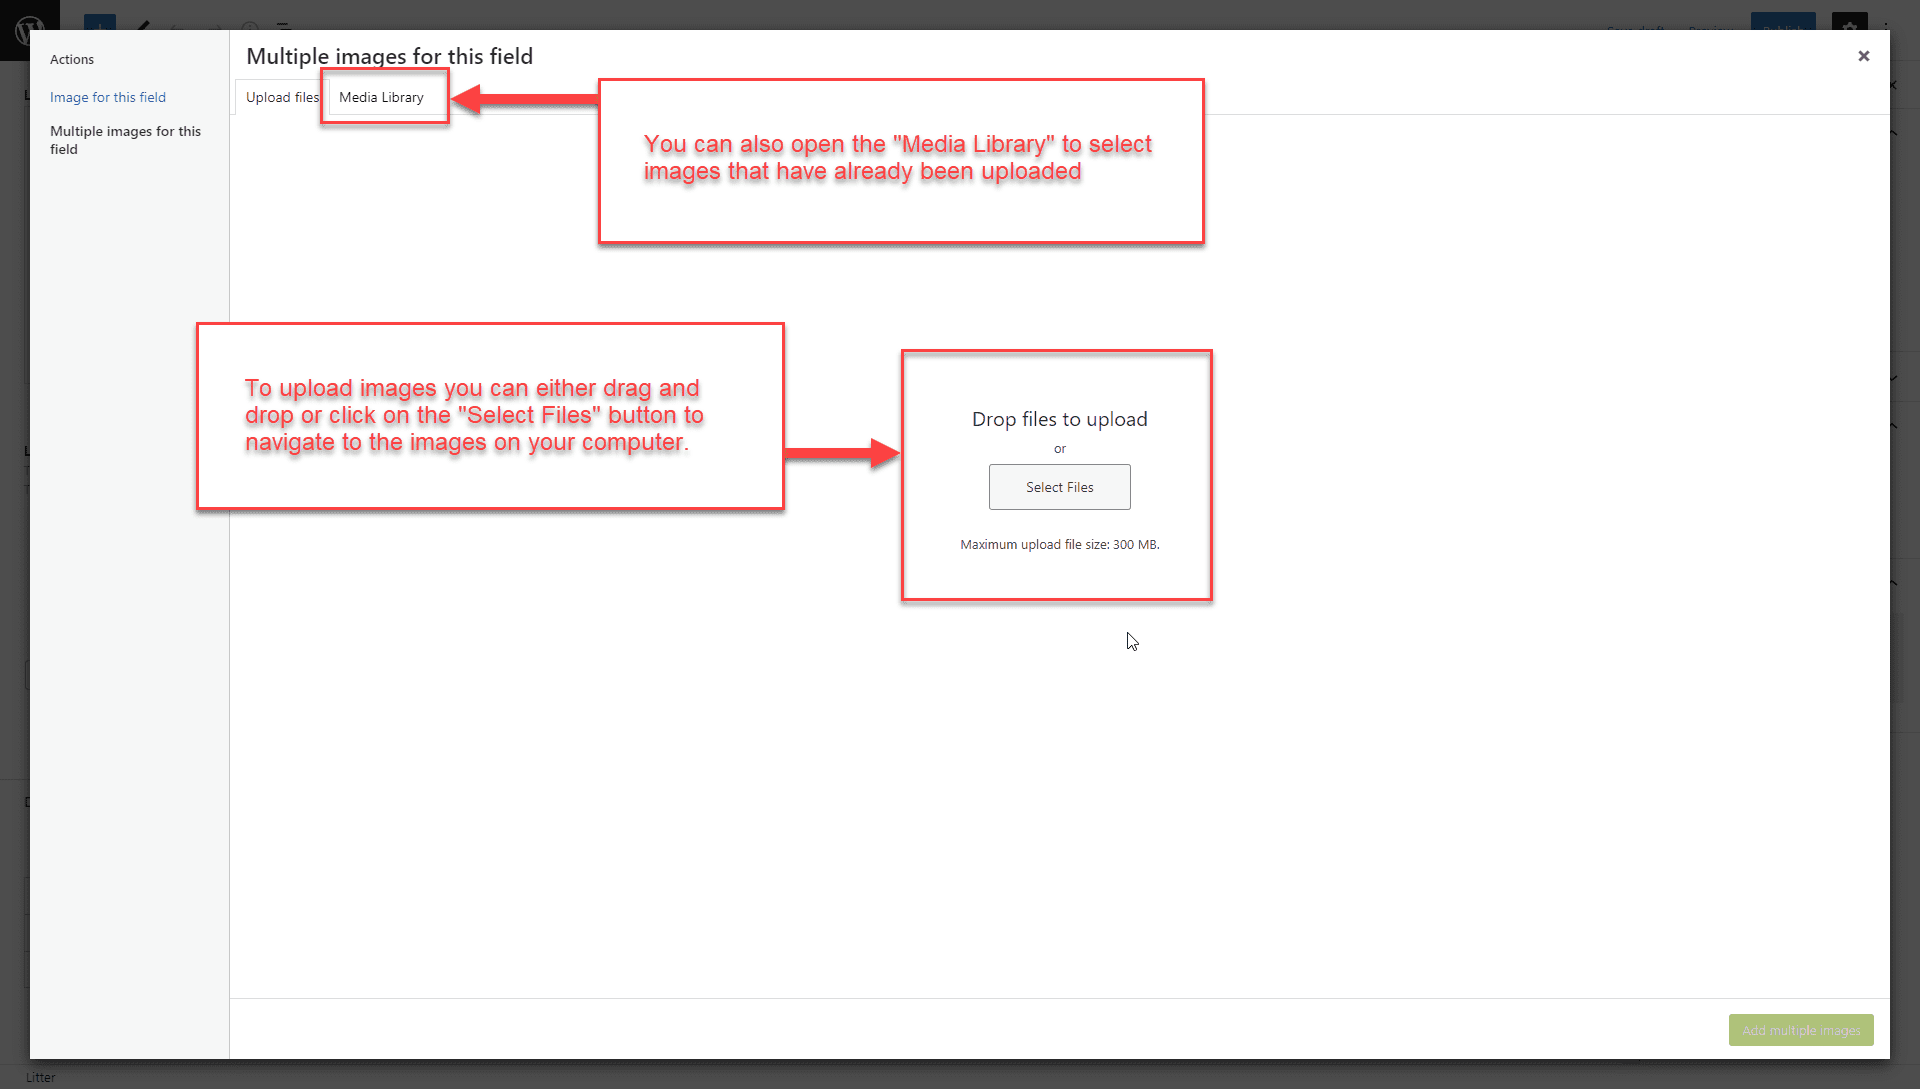
The photo gallery presents in 4 column rows on the front of the website. The ideal number of photos for this layout is 8, but you can upload fewer or more images if you like, ideally in groups of 4.
For feature and gallery images, the best aspect ratio to use is 16:9 with a size of 2000px wide X 1125px height. Learn more about what image types your can upload, optimal dimensions, and file sizes.
To learn more about the Media Library, read our Media Library support doc.
Sold Dogs
There’s a field for you to add notes regarding the sale of a dog. This information does not show on the front of the website. It’s for your information and record keeping.
Associated Litters
The Dogs and Litter field group will show the litters associated with each dog.
Though it’s possible to add a litter from a dog’s entry, it would be better to connect litters and their parents through the Litter Section of the website backend (Litters > Add New).
Editing Dogs
Log in and navigate to the “Dogs” section to edit a dog. If you hover over an entry, a submenu will appear with the following options: Edit | Quick Edit | Trash | View |.
Edit
Clicking “Edit” will open a page where you can add or edit all the associated information with the litter entry.
Quick Edit
Clicking “Quick Edit” will keep you on the same page and open a form where you can modify the following entry details: title, slug, date, password, privacy, dog gender and status, and status.
Trash
By clicking “Trash,” you’ll move the entry to the trash.
View
By clicking “View,” you’ll open the entry on the frontend of the website.


